Colour follows the concrete’s character
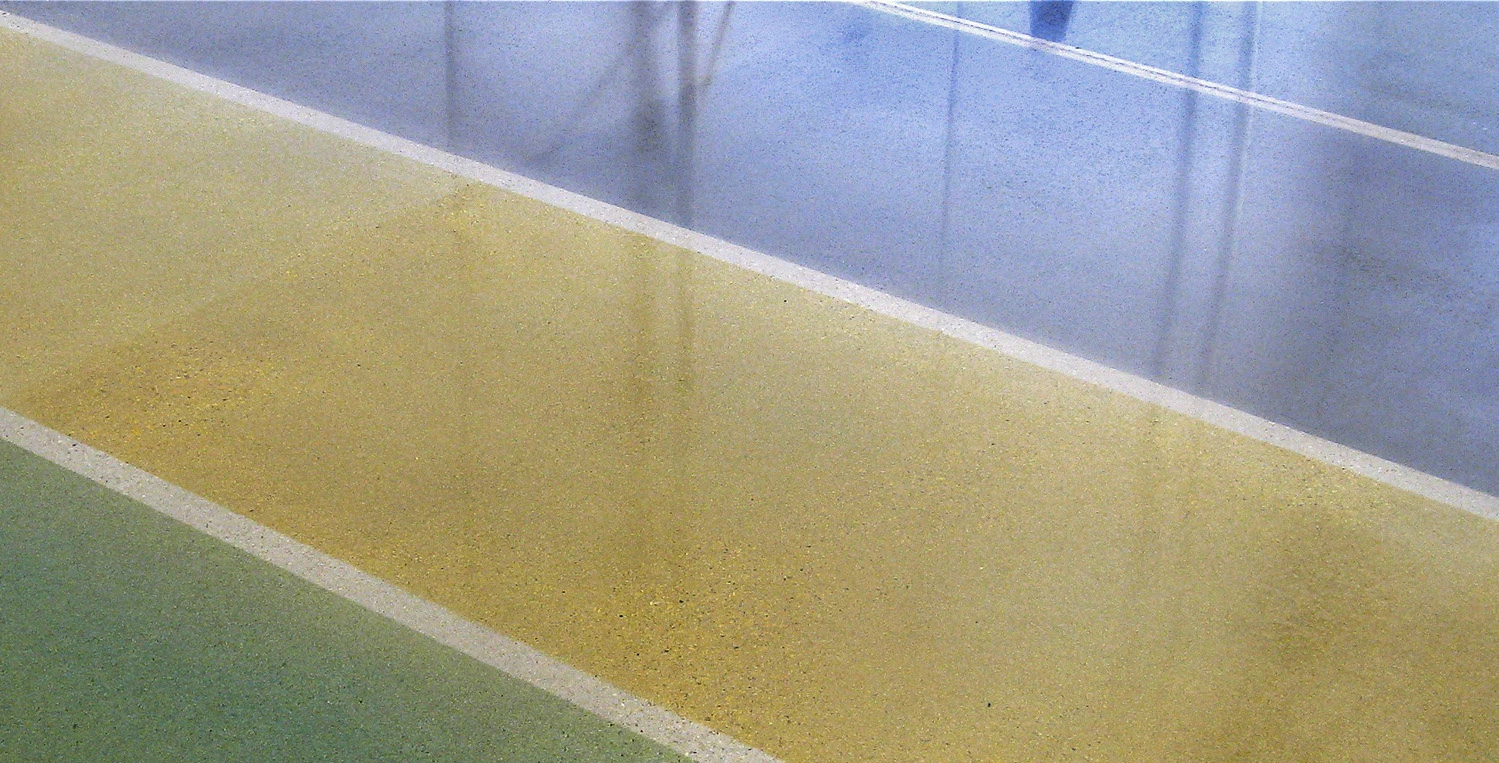
Translucent colour brings the slab into the design rather than hiding it. Repairs, aggregate and absorbency remain part of the picture. Set out the pattern on a drawing, but approve the colour on the actual concrete, including a representative repair and the intended protective finish.
Colour can make a concrete floor part of the interior design or distinguish functional areas. C² Tint penetrates and colours suitable interior concrete and adds depth to polished finishes. It is translucent: the base concrete, repairs and preparation still affect the final result. It should not be presented as an opaque paint that hides defects.
What the crew brings to site
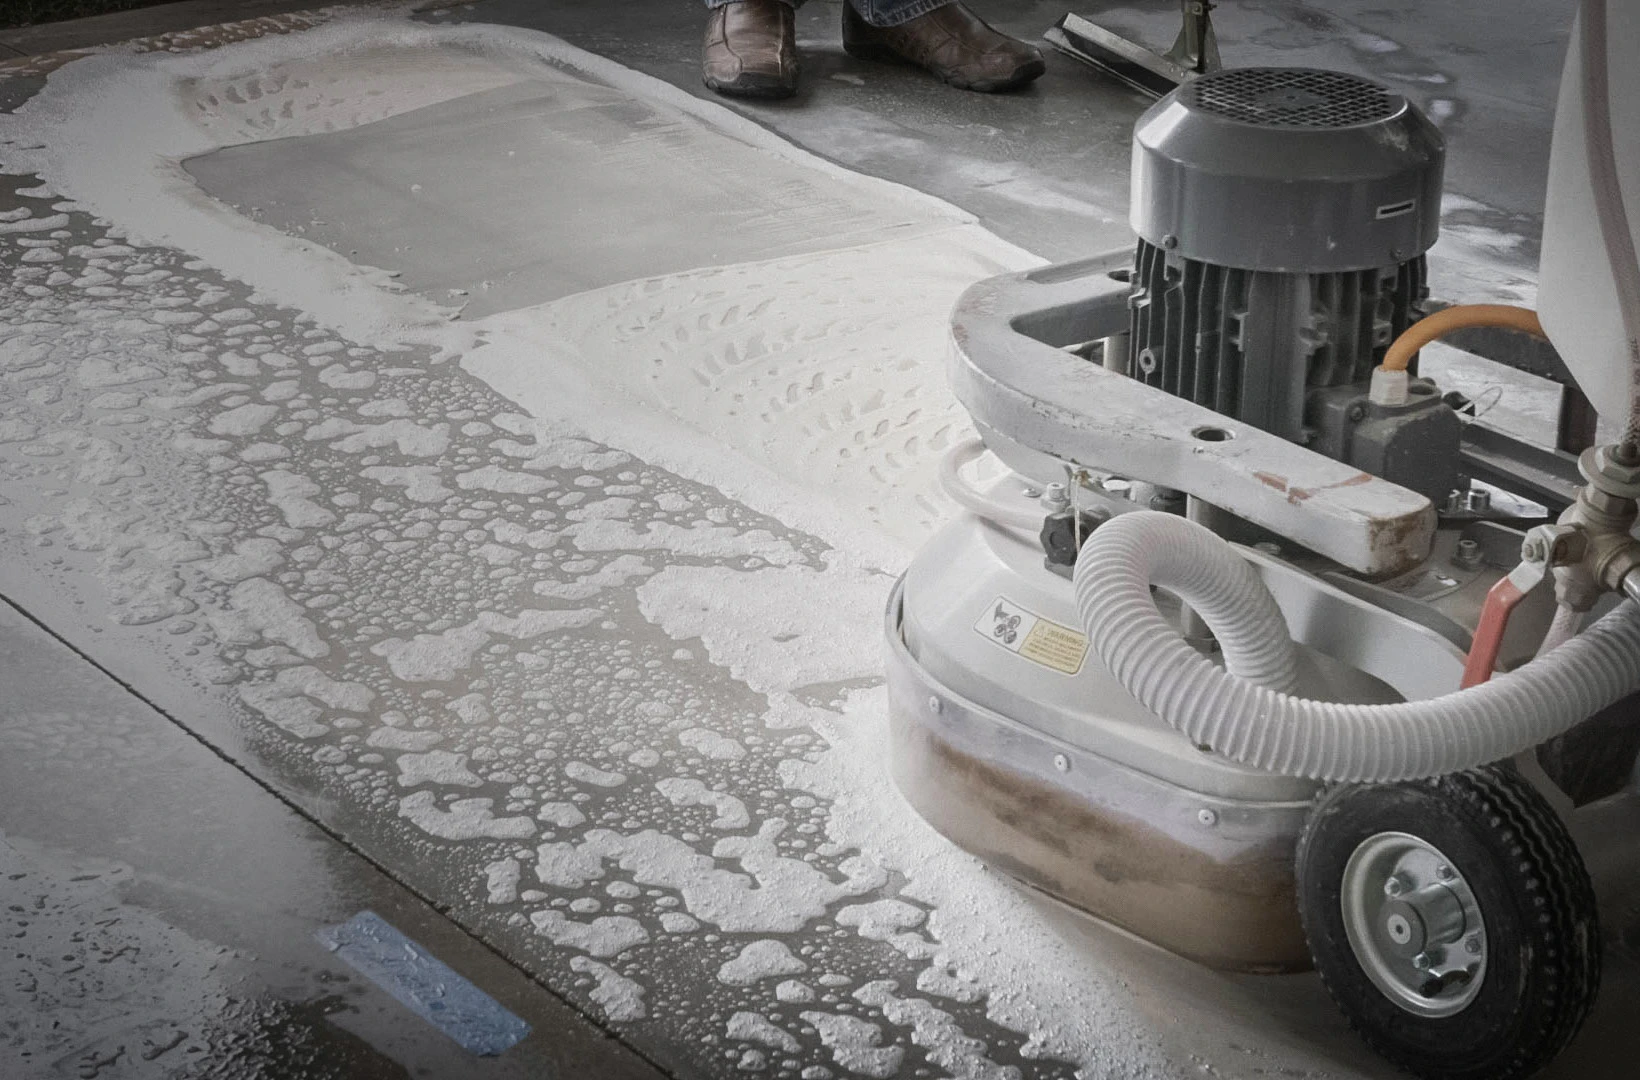
A concrete grinder does the cutting when the surface needs levelling or deeper aggregate exposure. An edge grinder reaches walls and columns. The machine and tooling are selected together for the slab, not simply by motor power.
On suitable surfaces, C² Power Polish offers another route: C² Diamonds resin discs fitted to compatible power trowels, scrubber-dryers or swing machines. Check the mounting, speed and wet/dry compatibility before starting. A finishing system is not a substitute for deep stock removal.
The less glamorous kit matters too: appropriate dust extraction for dry work, slurry collection for wet work, a scrubber-dryer for cleaning between stages, a low-pressure sprayer and clean microfiber applicators. Keep clean tools separate from the grinding area.
Read the surface, then choose the disc
Think of a disc number as a step, not a promise of gloss. Coarser tooling opens the surface; finer tooling refines the scratches it leaves. Metal-bond tools are used for removal, while resin tooling develops the finish. Concrete hardness, the tool bond and the machine all influence the cut. Choose the initial grit on a trial area and check tool wear early; do not copy a sequence from another slab blindly.
The route for this floor
The referenced C² Tint route begins with refinement equivalent to #200 resin diamonds, followed by cleaning and drying. Apply with a low-pressure sprayer and microfiber applicator, working evenly without puddles. If further polishing is specified, the Tint sheet describes a dry #400 stage and its cleaning and colour steps. Densifying follows colouring in this system. Read the supplied Tint formulation’s complete sequence before deciding the programme; do not insert a standard uncoloured-floor sequence halfway through.
What a good pass looks like
Work in manageable areas with even, overlapping passes. At each change of abrasive, remove loose grit and inspect a clean patch under low-angle light. A remaining coarse scratch needs attention now: a finer disc may make the surrounding concrete shine without removing it. Treat the perimeter to the same visual standard as the middle. Machine speed, pressure and travel rate come from the equipment and tooling instructions, then are confirmed on the test area.
How this floor is made
- 01
Assess and agree
Create a sample of the full system, not just the colour. Agree the tone, pattern, boundaries, joints and final sheen. Include representative repairs in the sample and protect neighbouring surfaces. Confirm which C² Tint formulation and current instructions apply to the supplied product.
- 02
Prepare the surface
Prepare and refine the surface as required by the Tint instructions. On the referenced system, colour is introduced after initial diamond refinement. Apply evenly in thin applications and remove excess residue as directed. After colouring, further grinding or polishing is dry, following the specified sequence.
- 03
Build the finish
Follow the colour-specific order: C² Hard or C² Super Hard is applied after staining in the referenced C² Tint system. Continue the prescribed refinement and cleaning; do not simply copy the sequence for an uncoloured floor. Check the result before proceeding across the entire space.
- 04
Protect and maintain
Apply the specified compatible C² protective treatment within the stated interval. The referenced Tint sheet names C² Seal or C² Ultra Seal. Observe the full system’s drying and liquid-exposure restrictions, then maintain with C² Clean or C² Maintenance.
Floor and process examples